Fabrication Experience
Woodworking
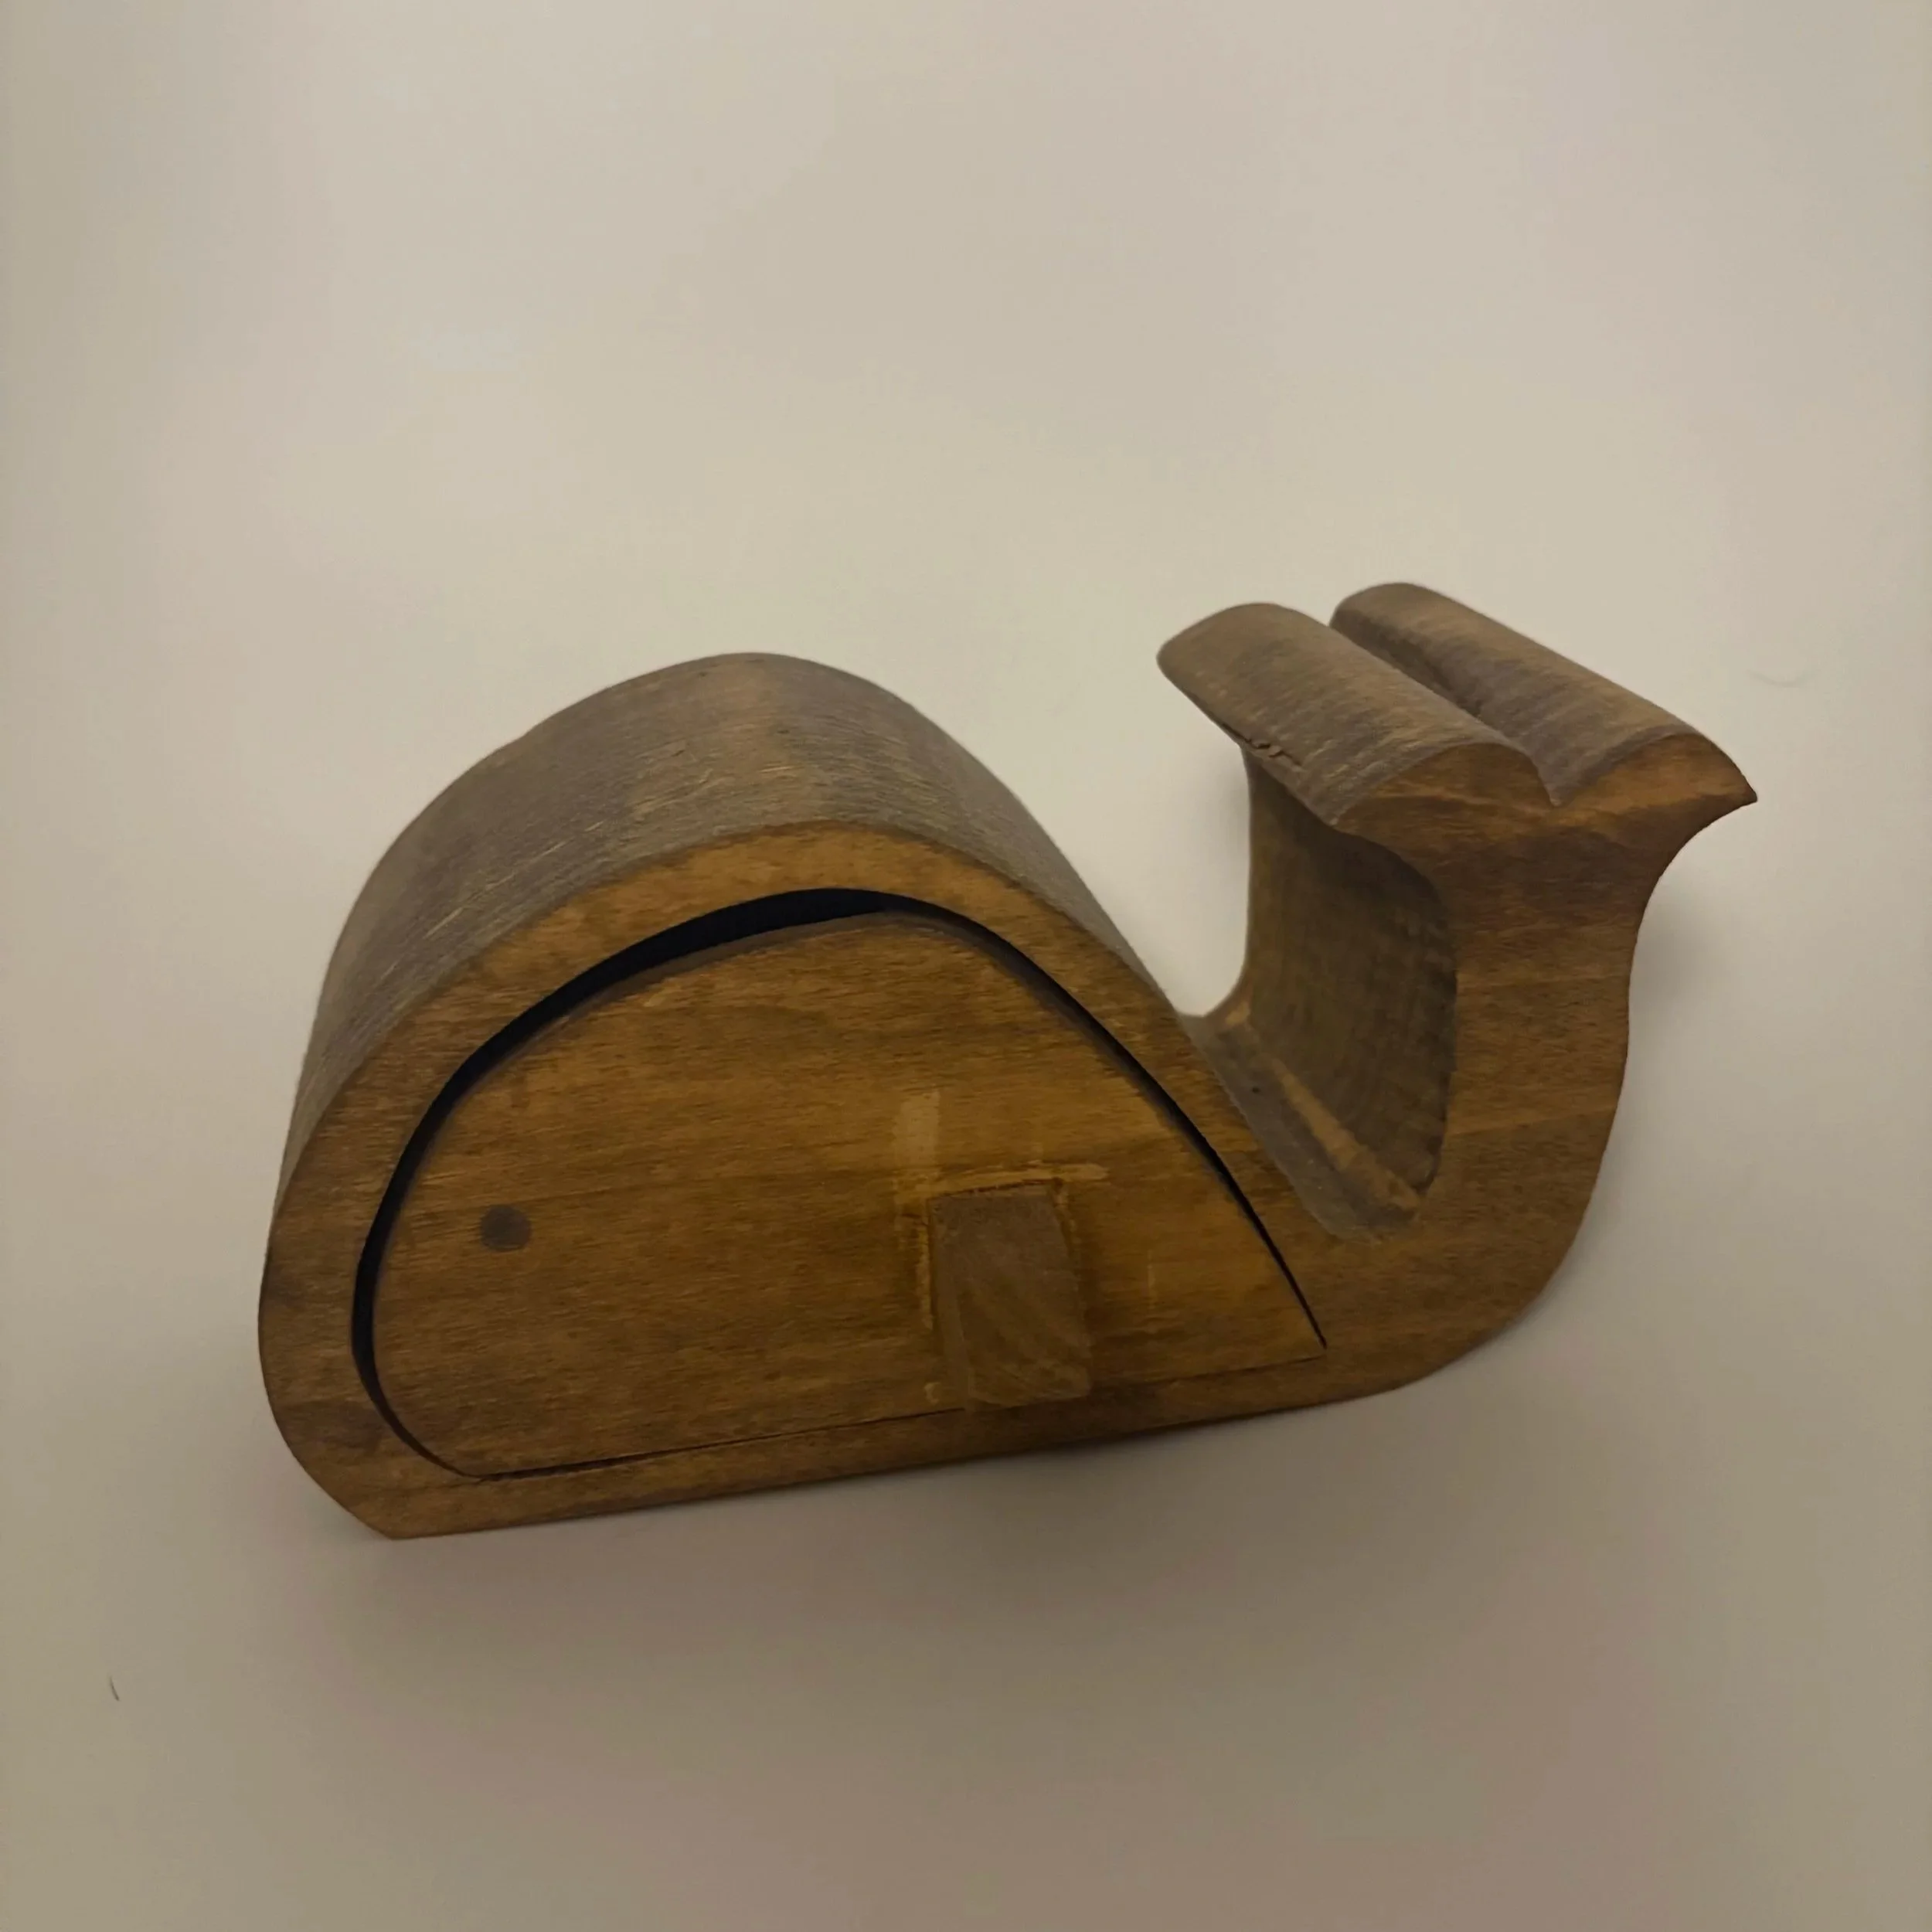
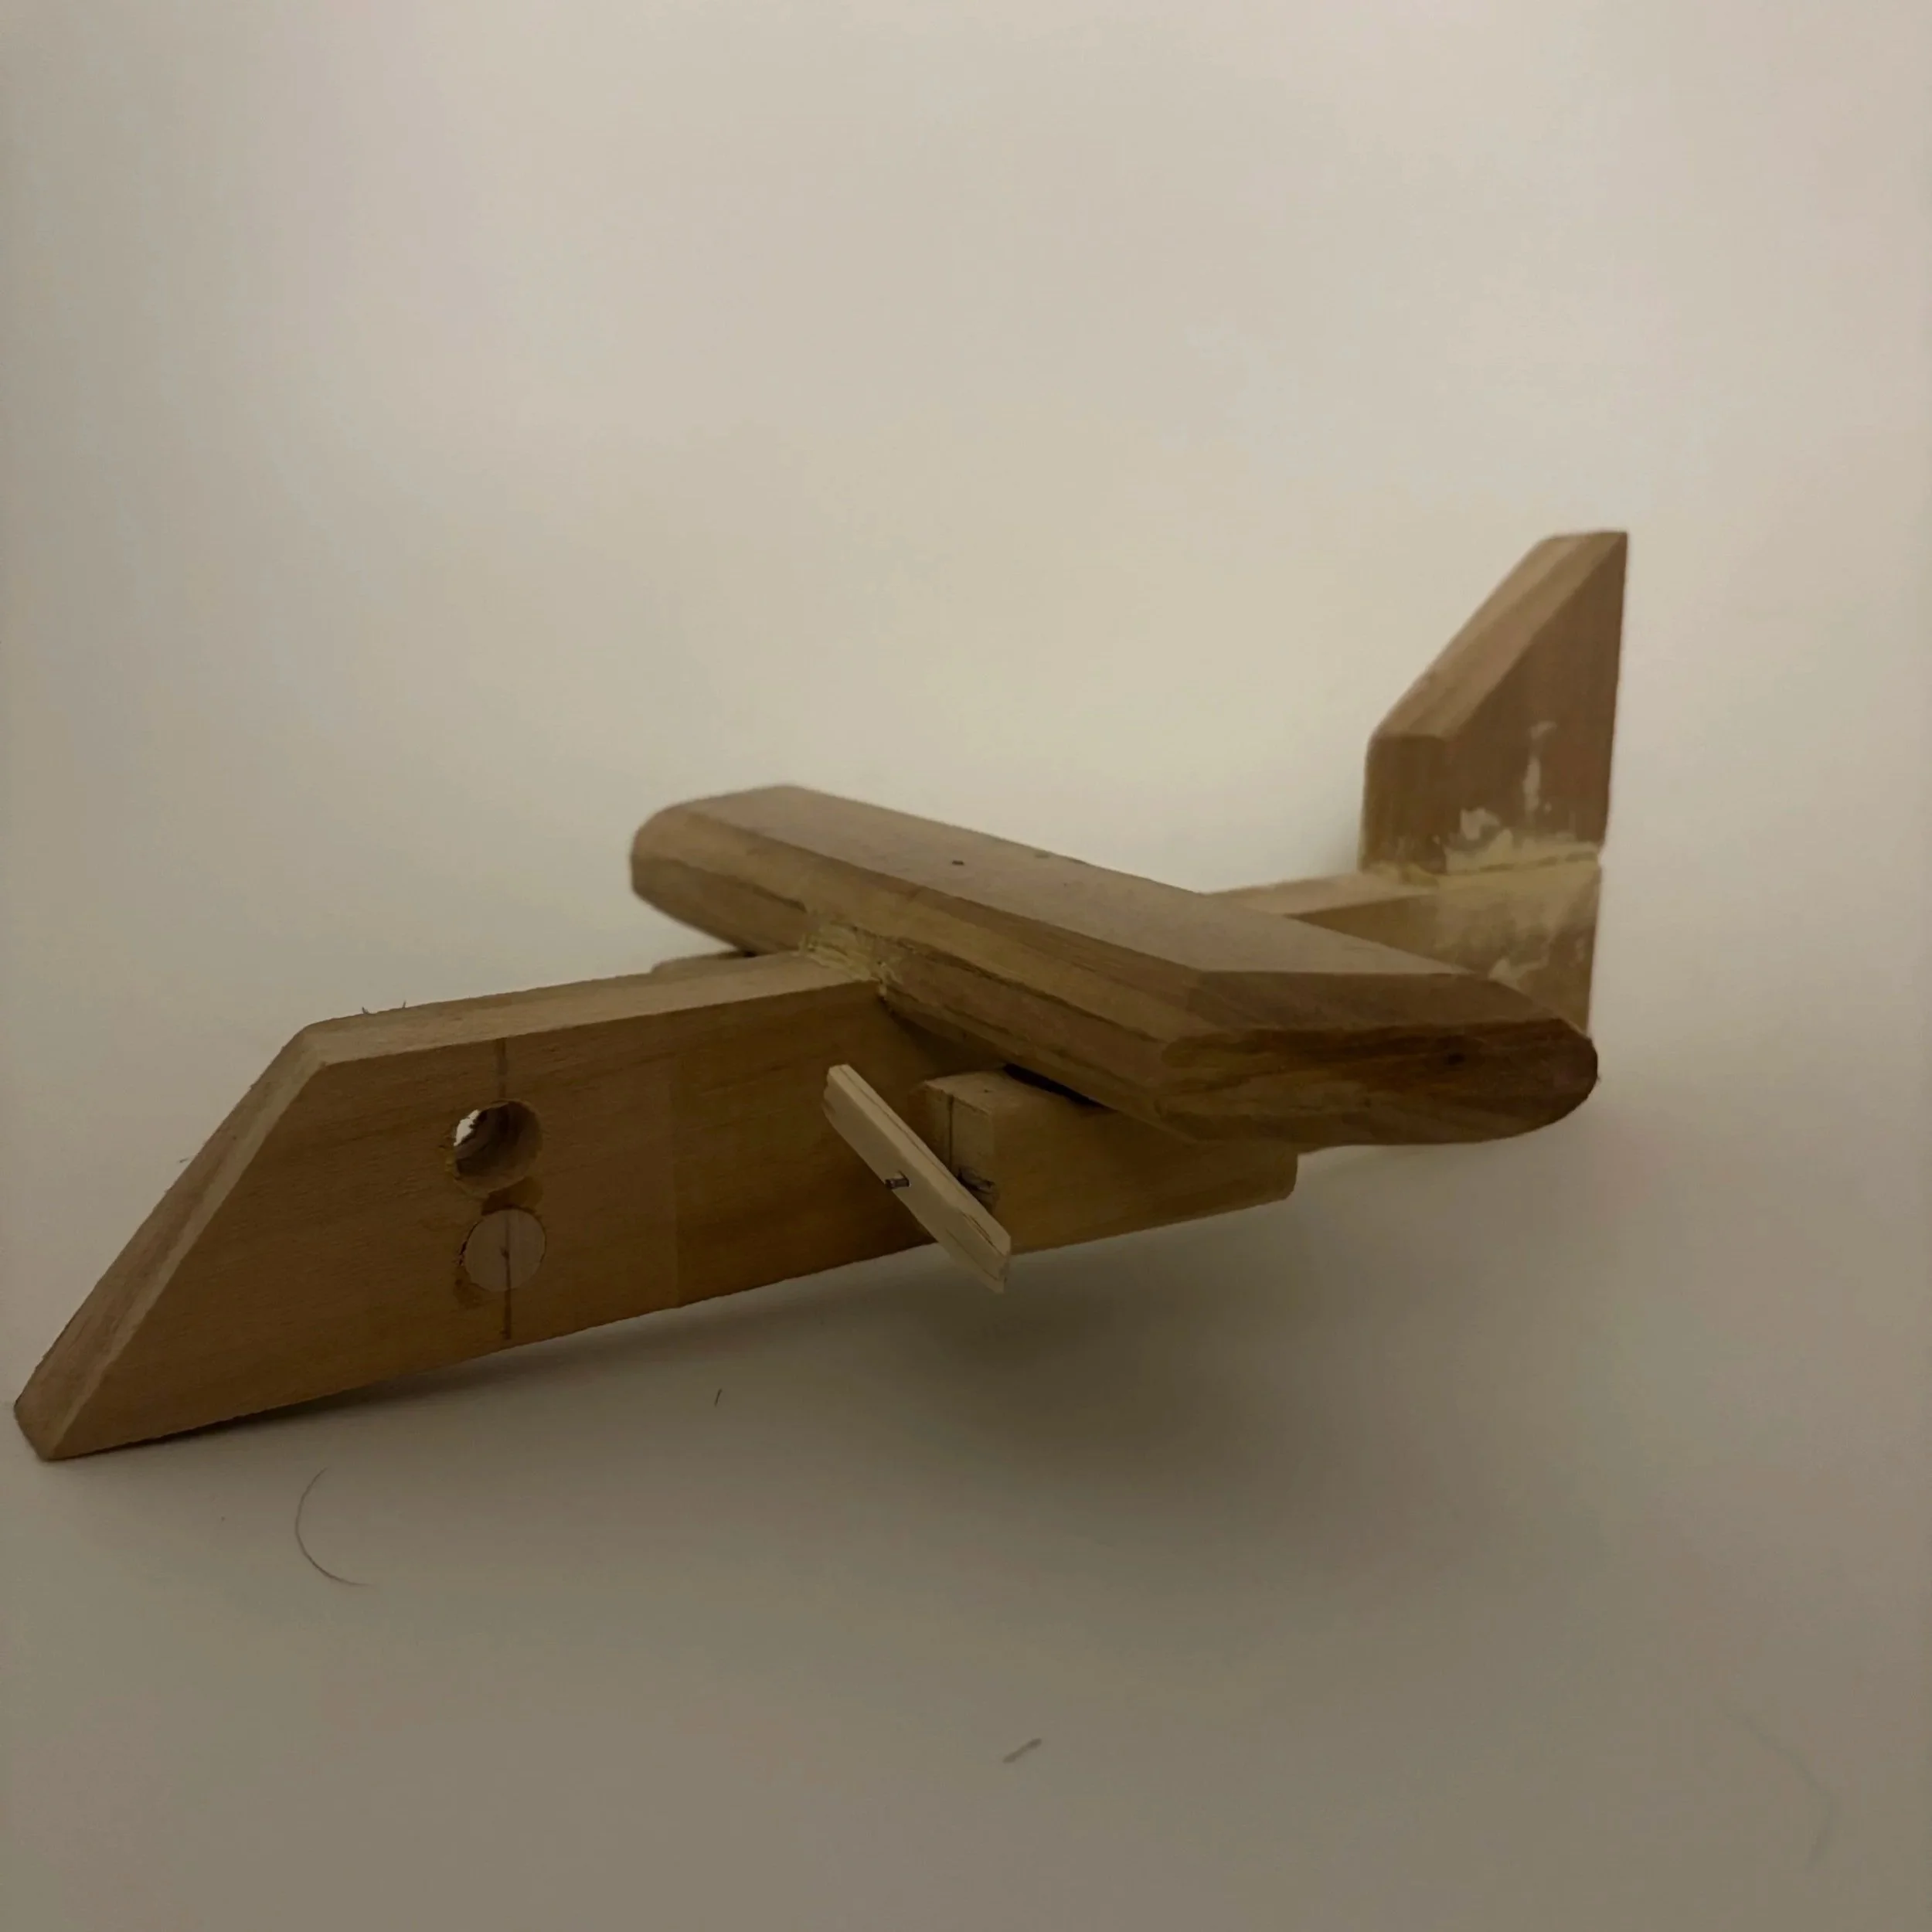

Rough stock preparation using band saws and scroll saws
Shaping and contouring with rasps, files, and sanding blocks
Drill press operations for aligned through-hole
Wood glue clamping and assembly
Progressive sanding and surface finishing
Processes and tools used:
Metalworking
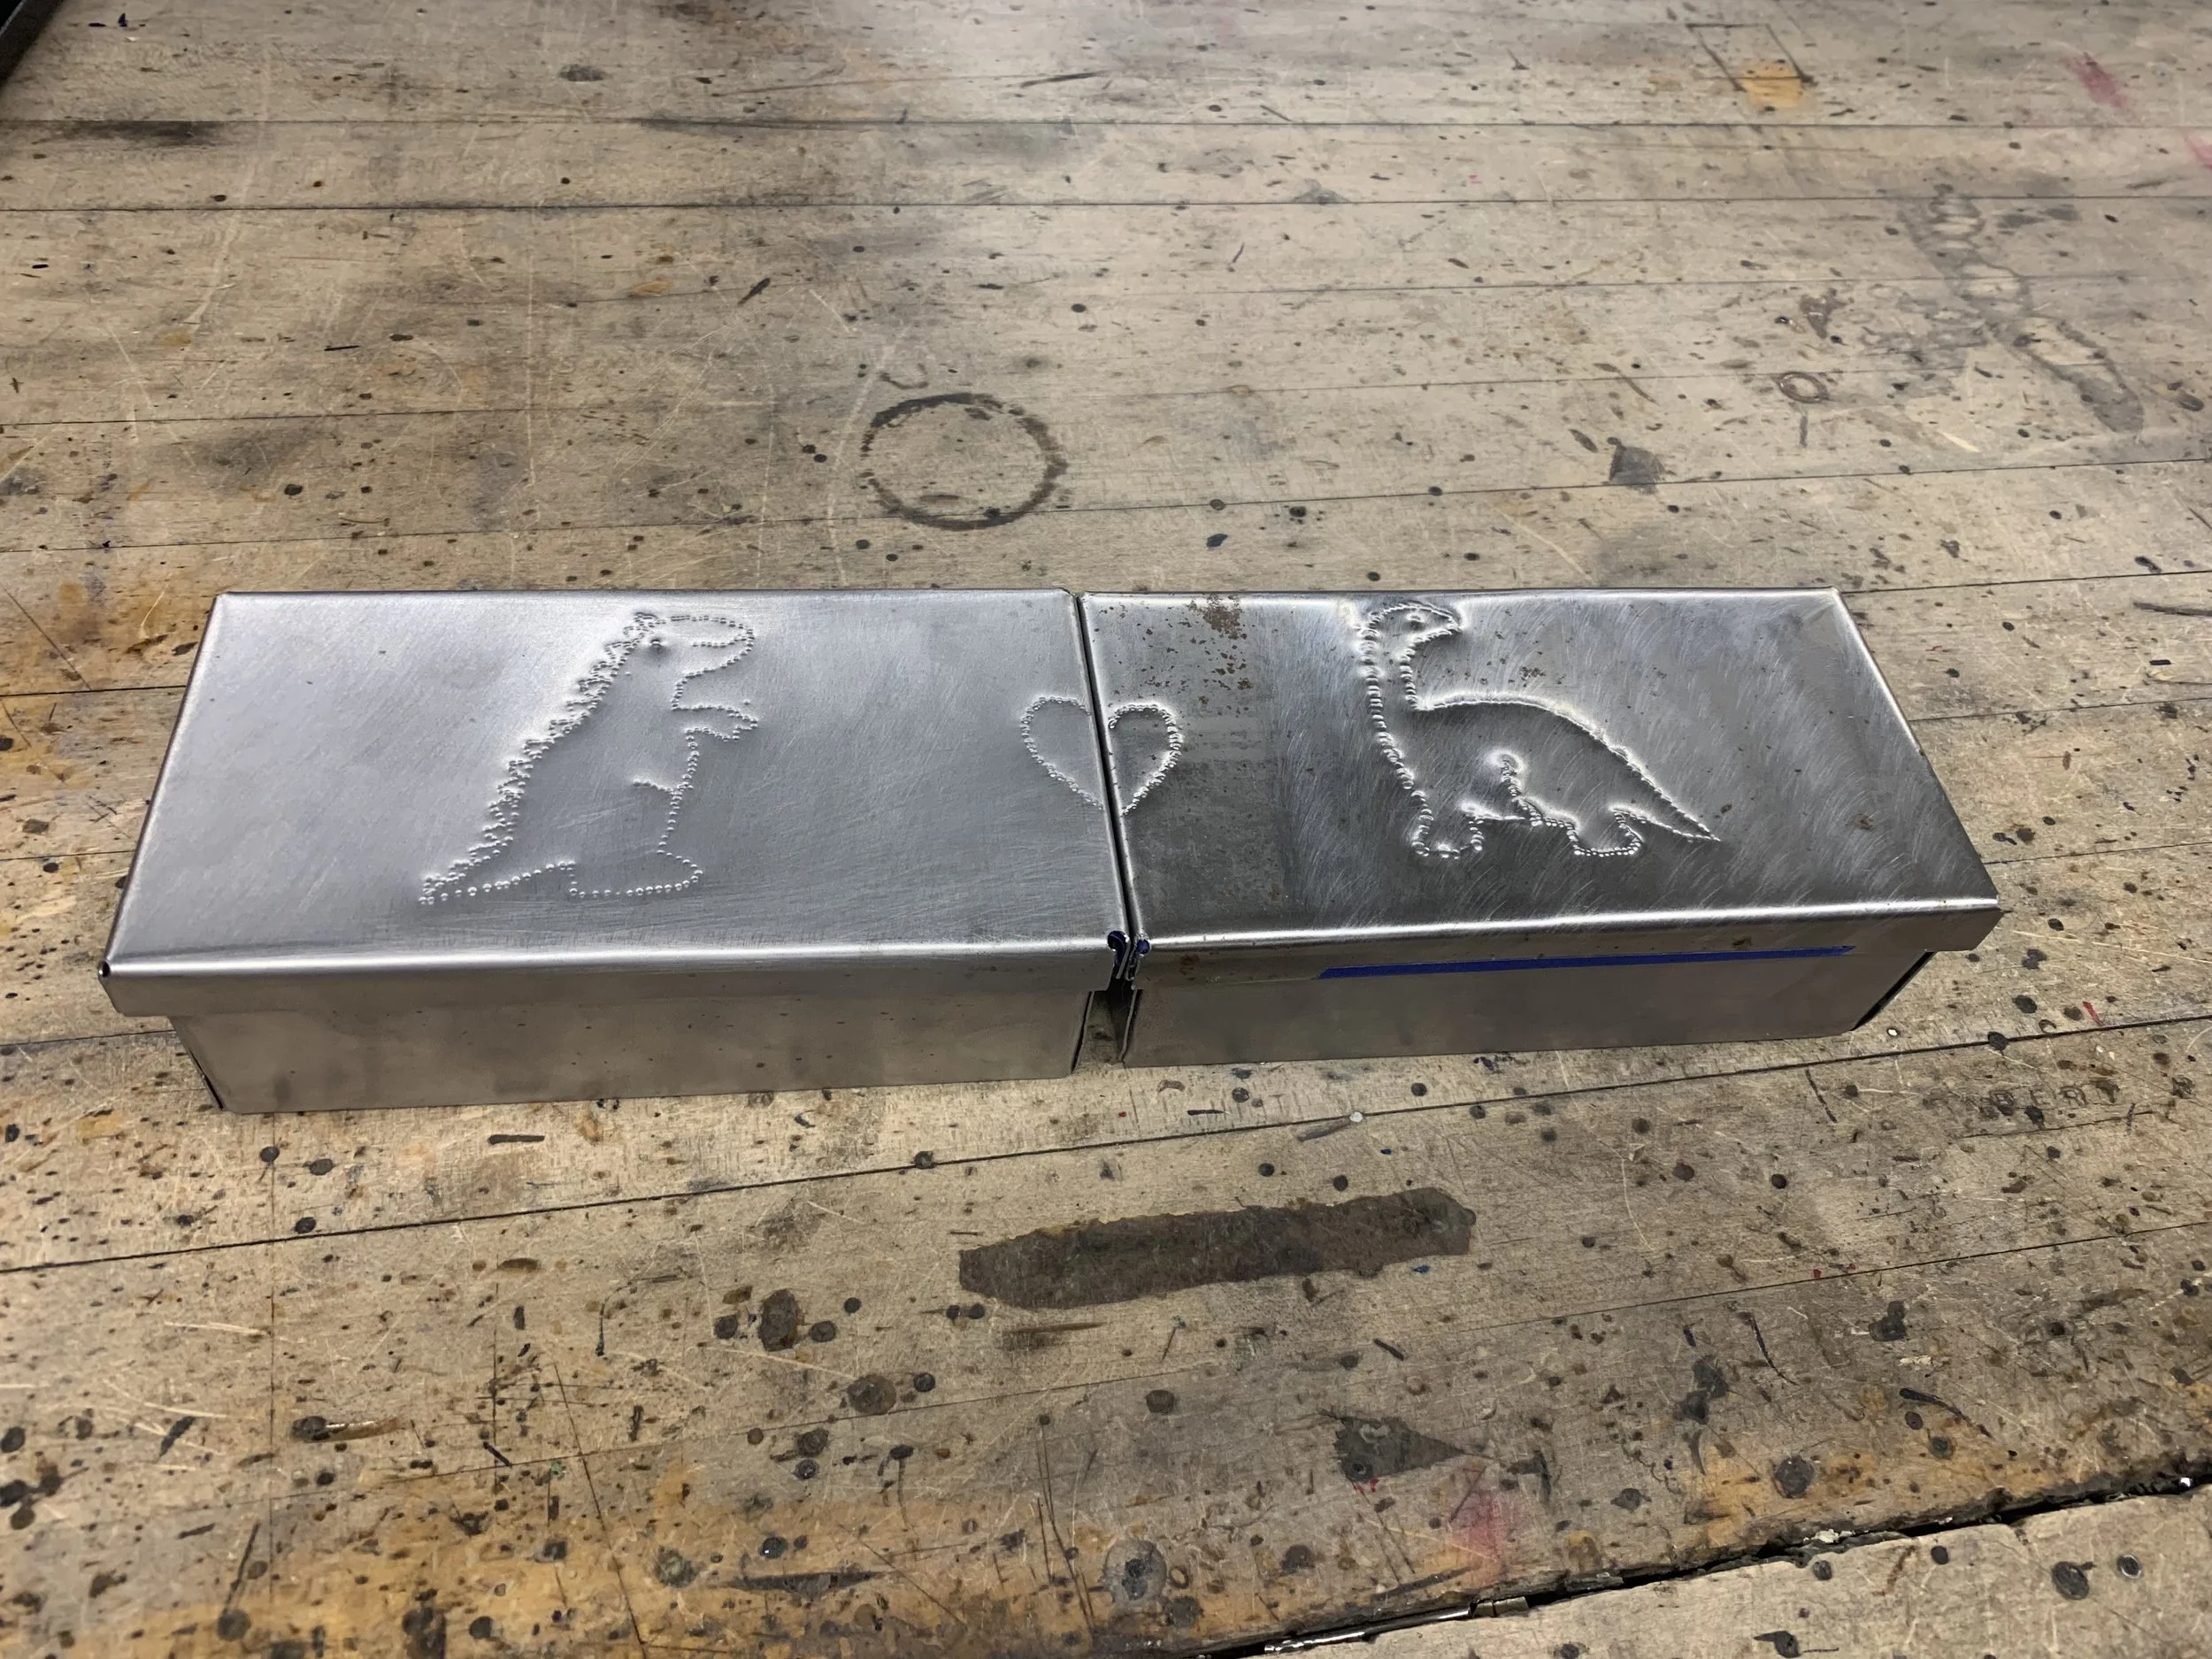
Sheet metal layout and cutting
Bending and forming using a sheet metal brake
Hand filing, deburring, and edge finishing
Basic mechanical assembly and fit adjustment
Pattern created using hand punches
Processes and tools used:
3D Printing
I have been a 3D printing hobbyist since middle school. The prints shown here were produced independently on various FDM printers and reflect years of experimentation with build plate adhesion, first-layer calibration, print speed, cooling, and layer-to-layer bonding. Over time, this hands-on experimentation has helped me build an intuition for how design choices and print setup affect part quality.
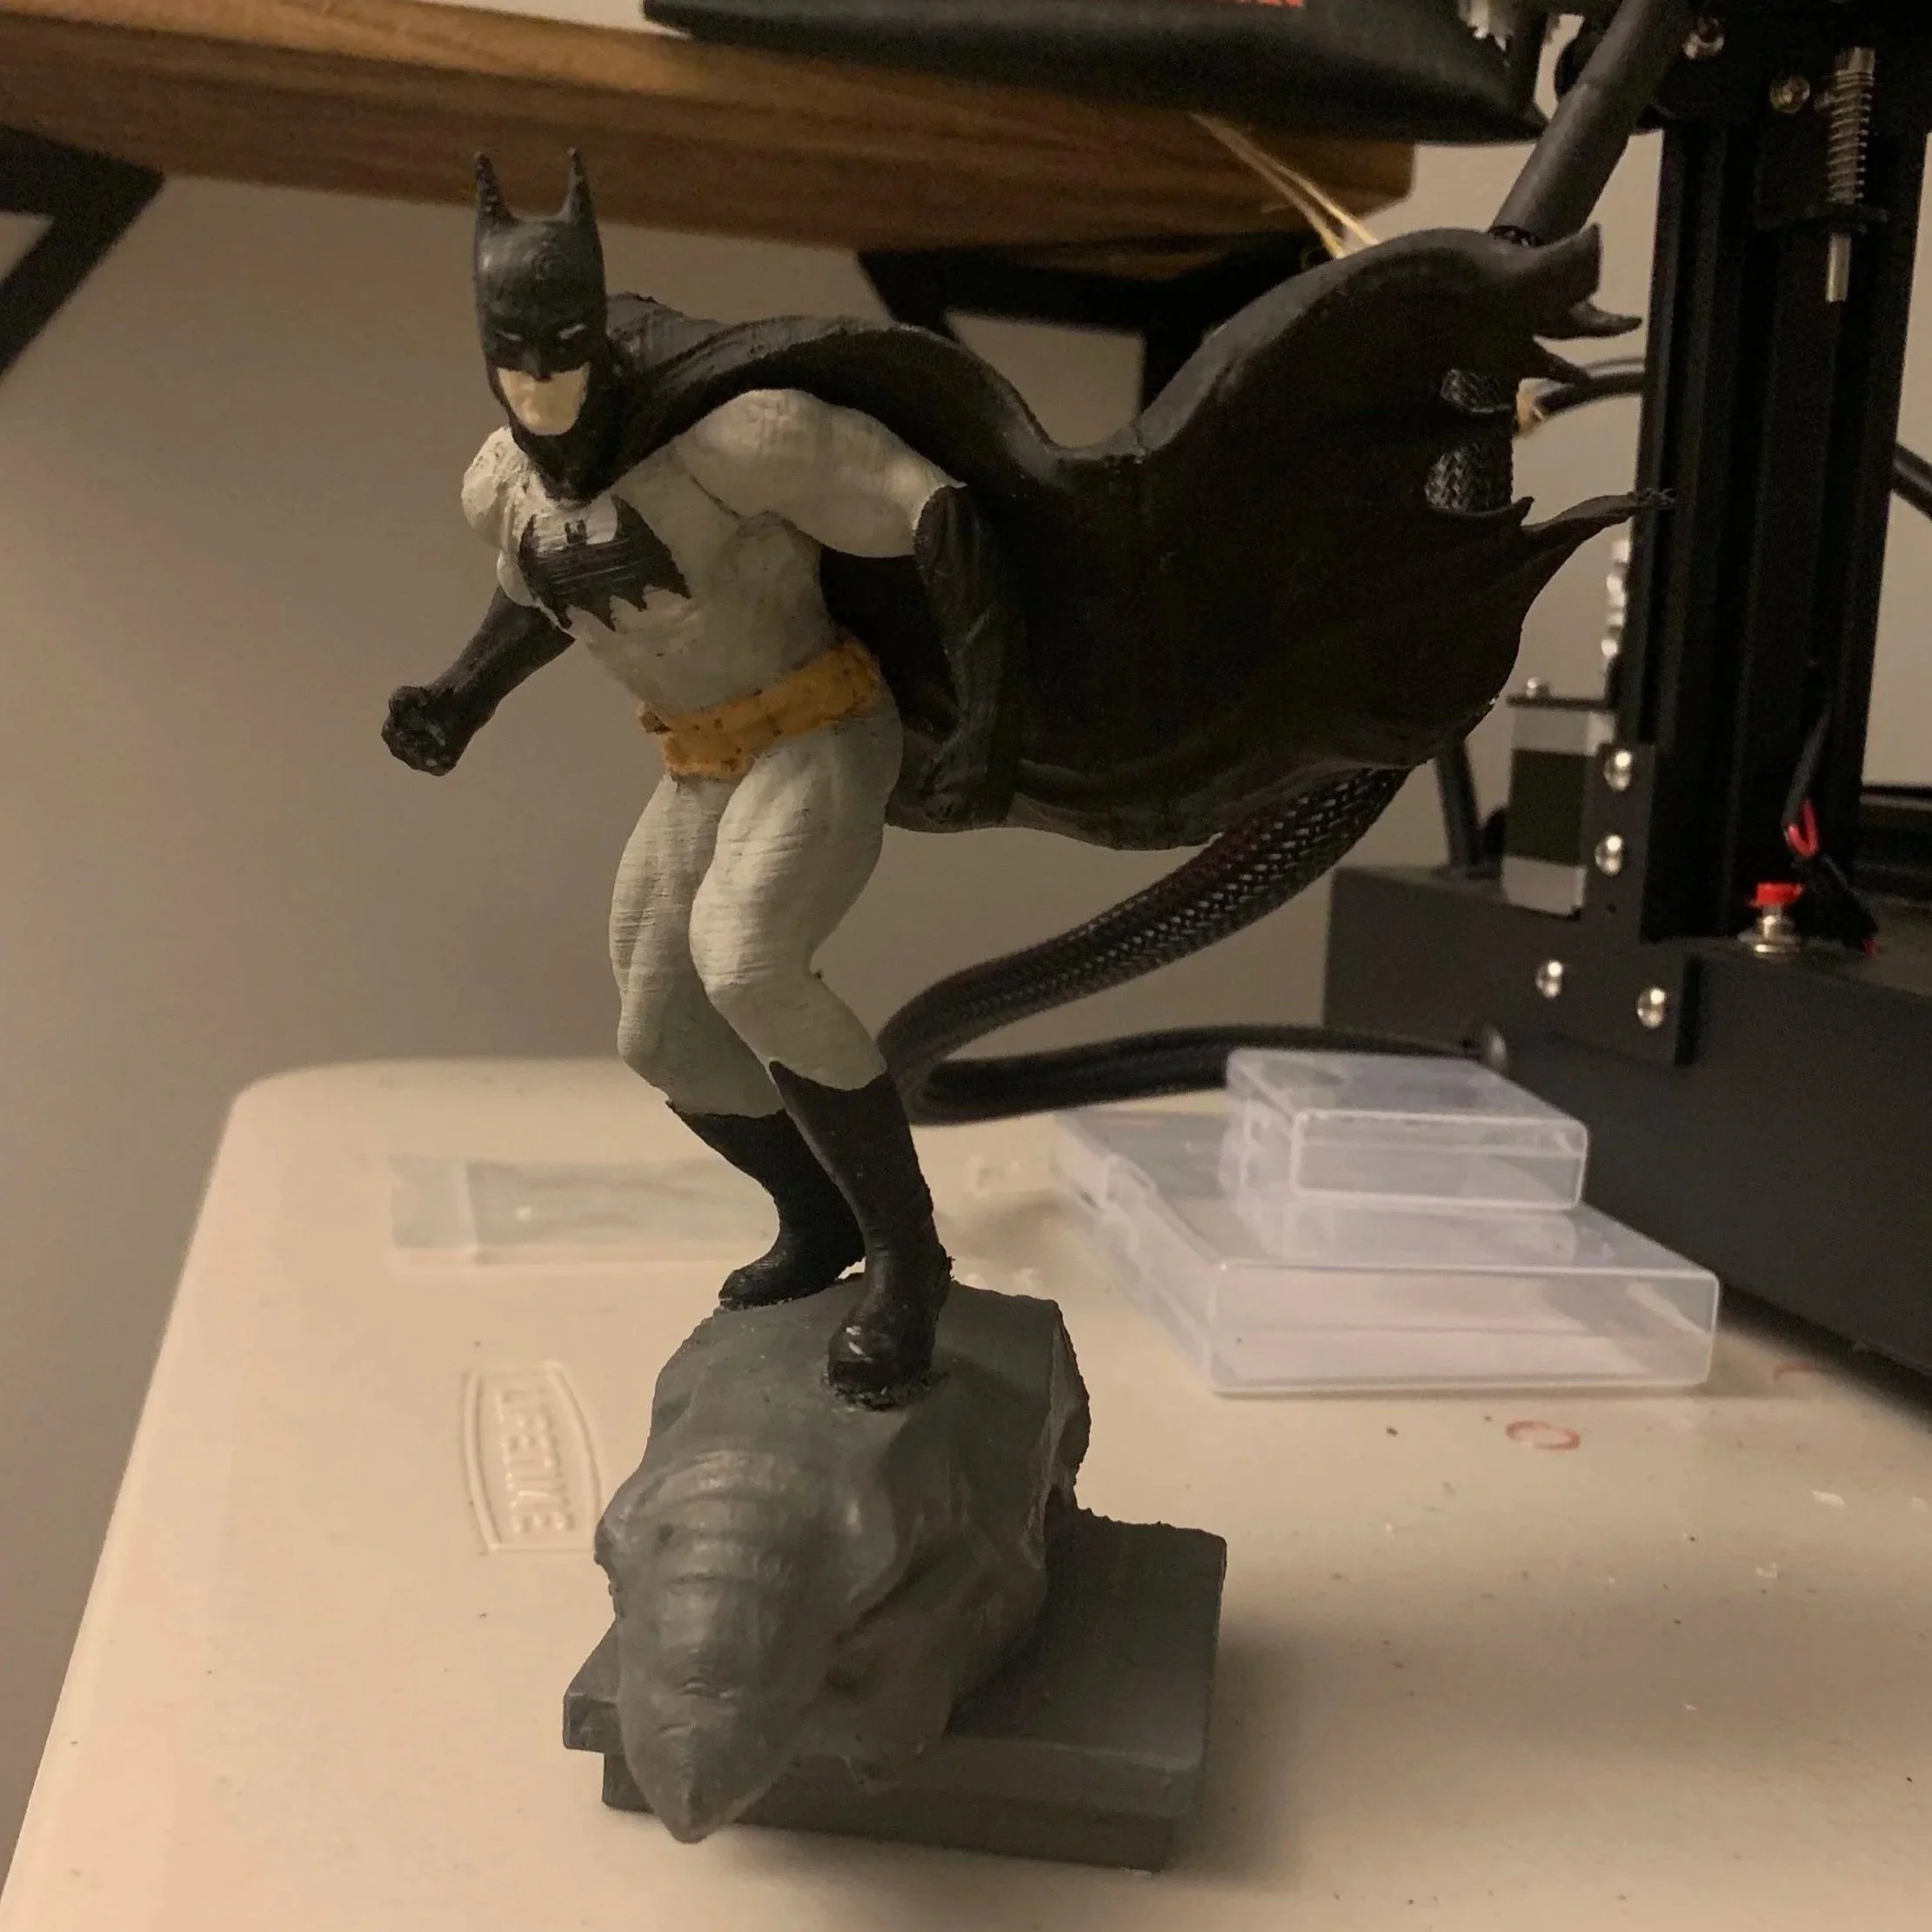

3D-printed Batman mini figure involving post-processing steps including support removal, sanding, and hand painting. Original model sourced online.
Basket designed in Onshape using a linear pattern feature, then sanded and hand-painted for a finished surface.
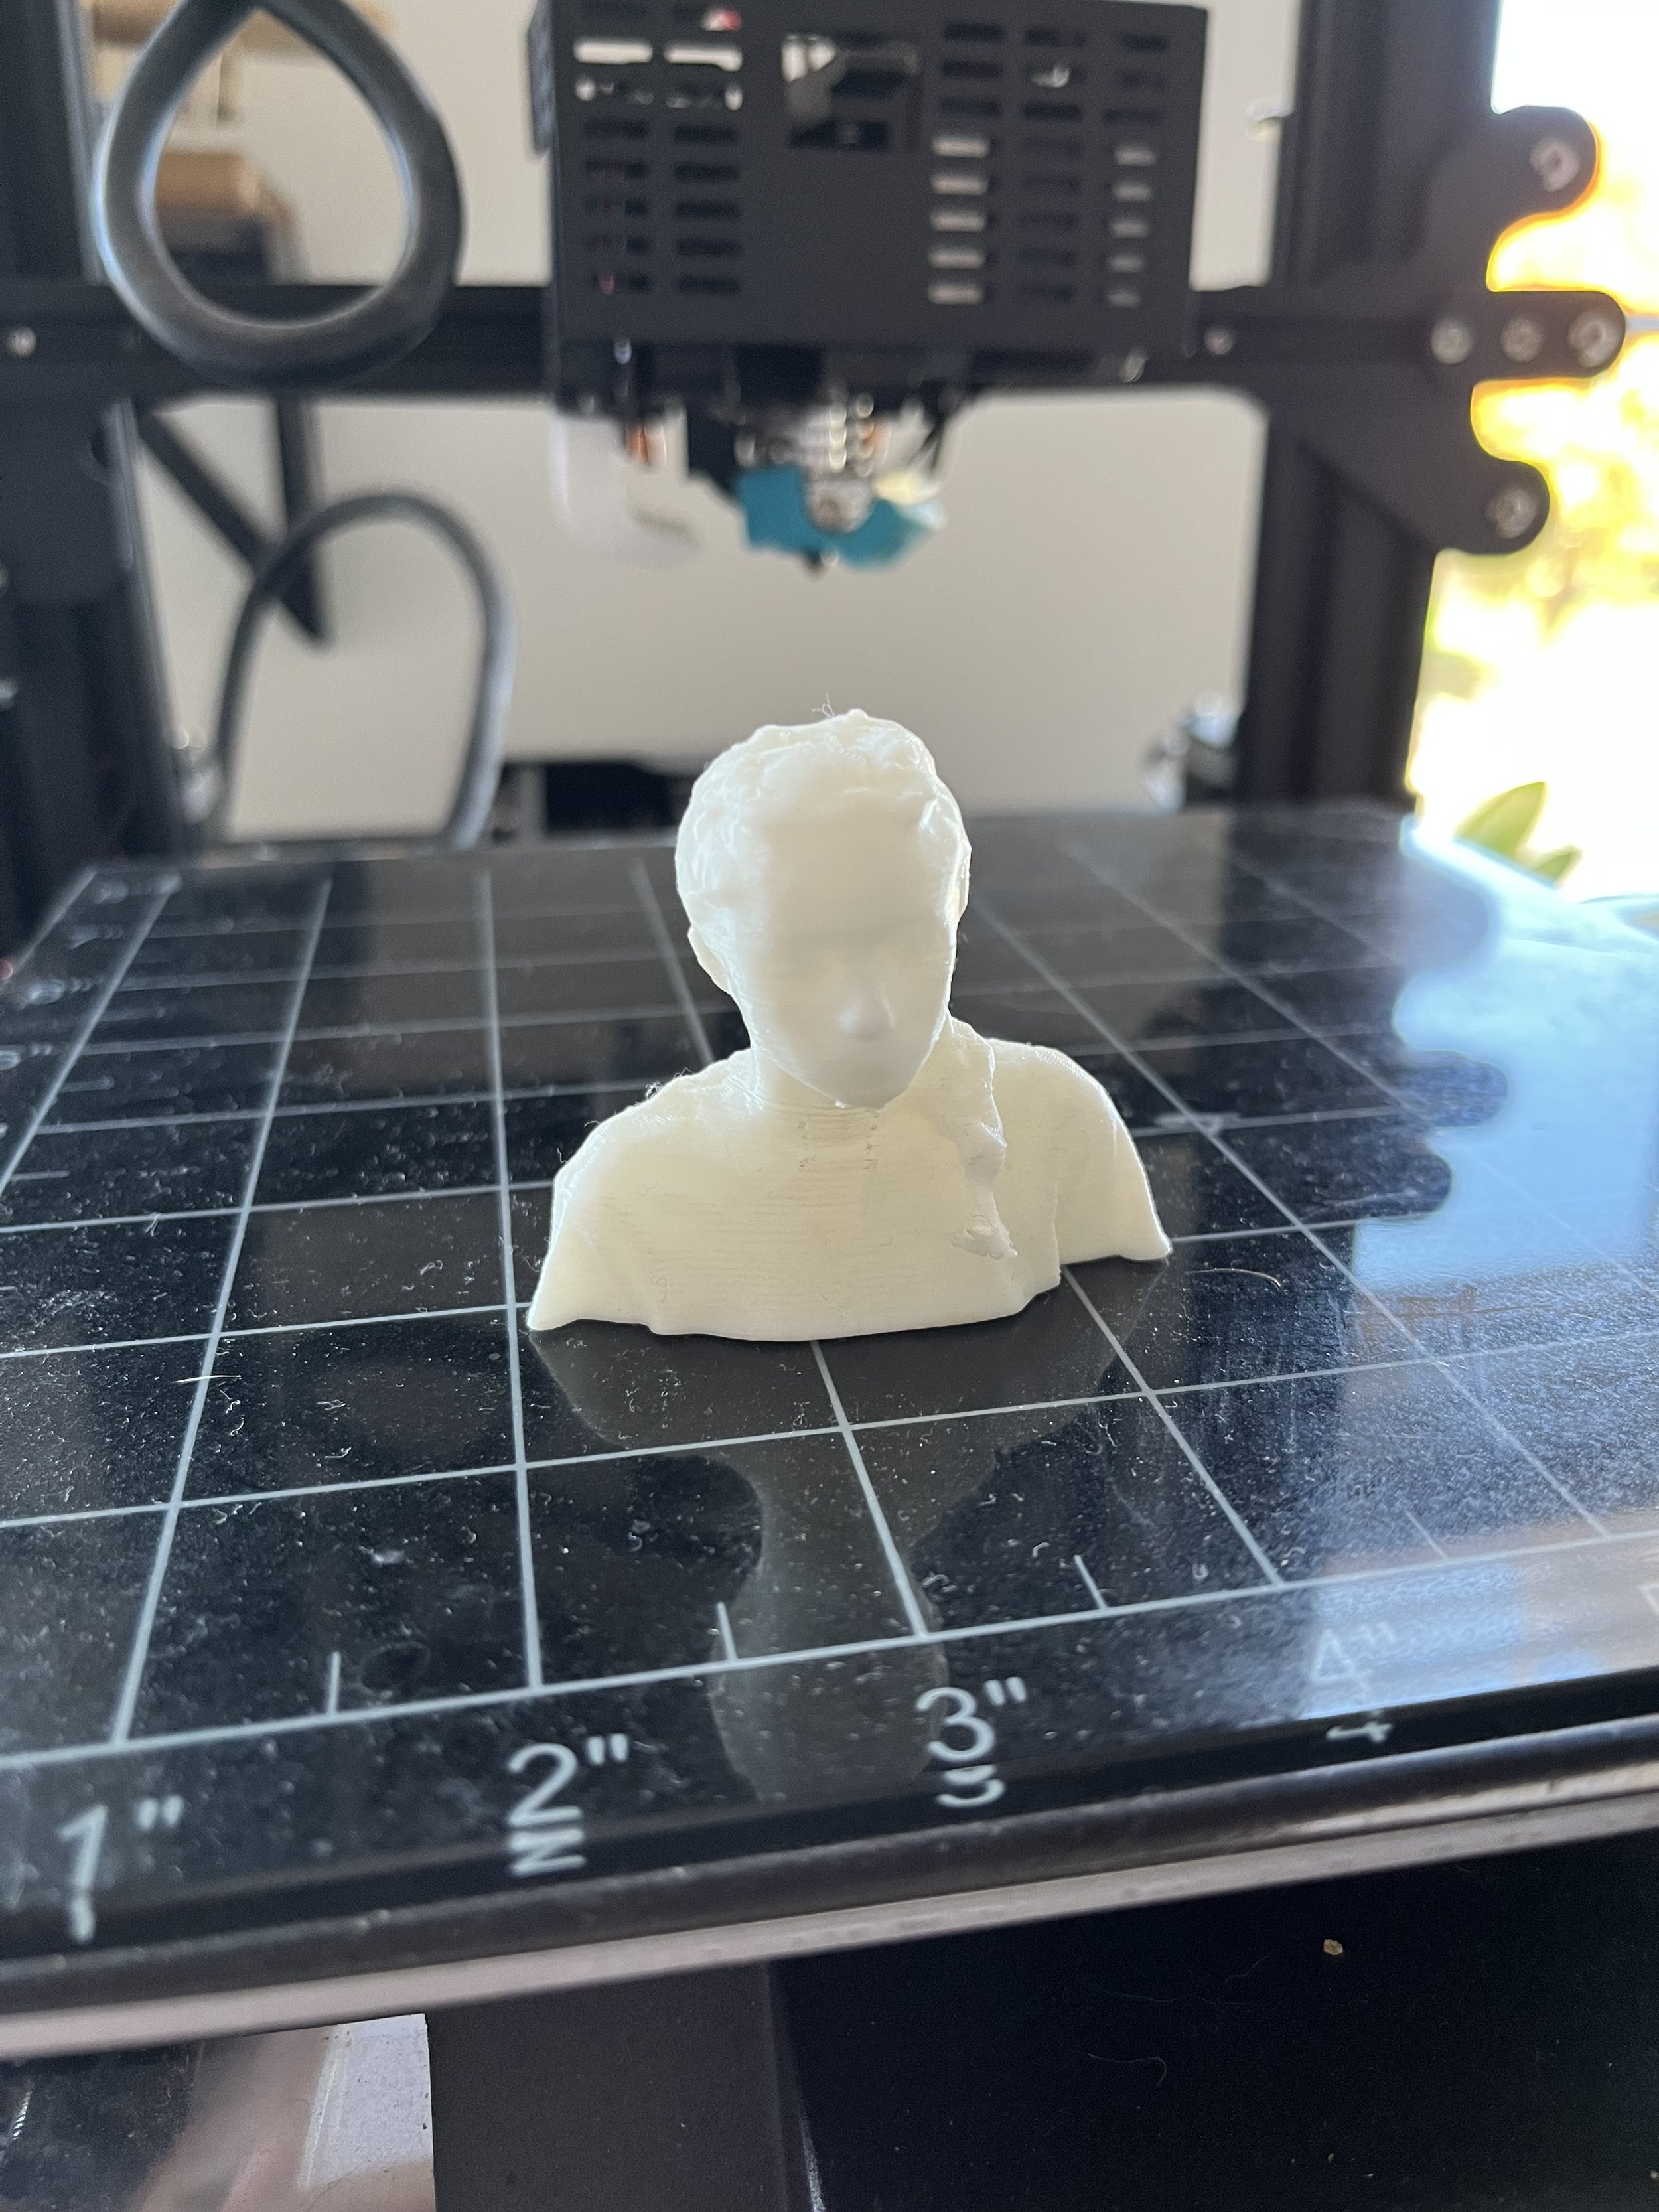
3D-printed self-portrait generated from an iPhone scan using a mobile scanning app.
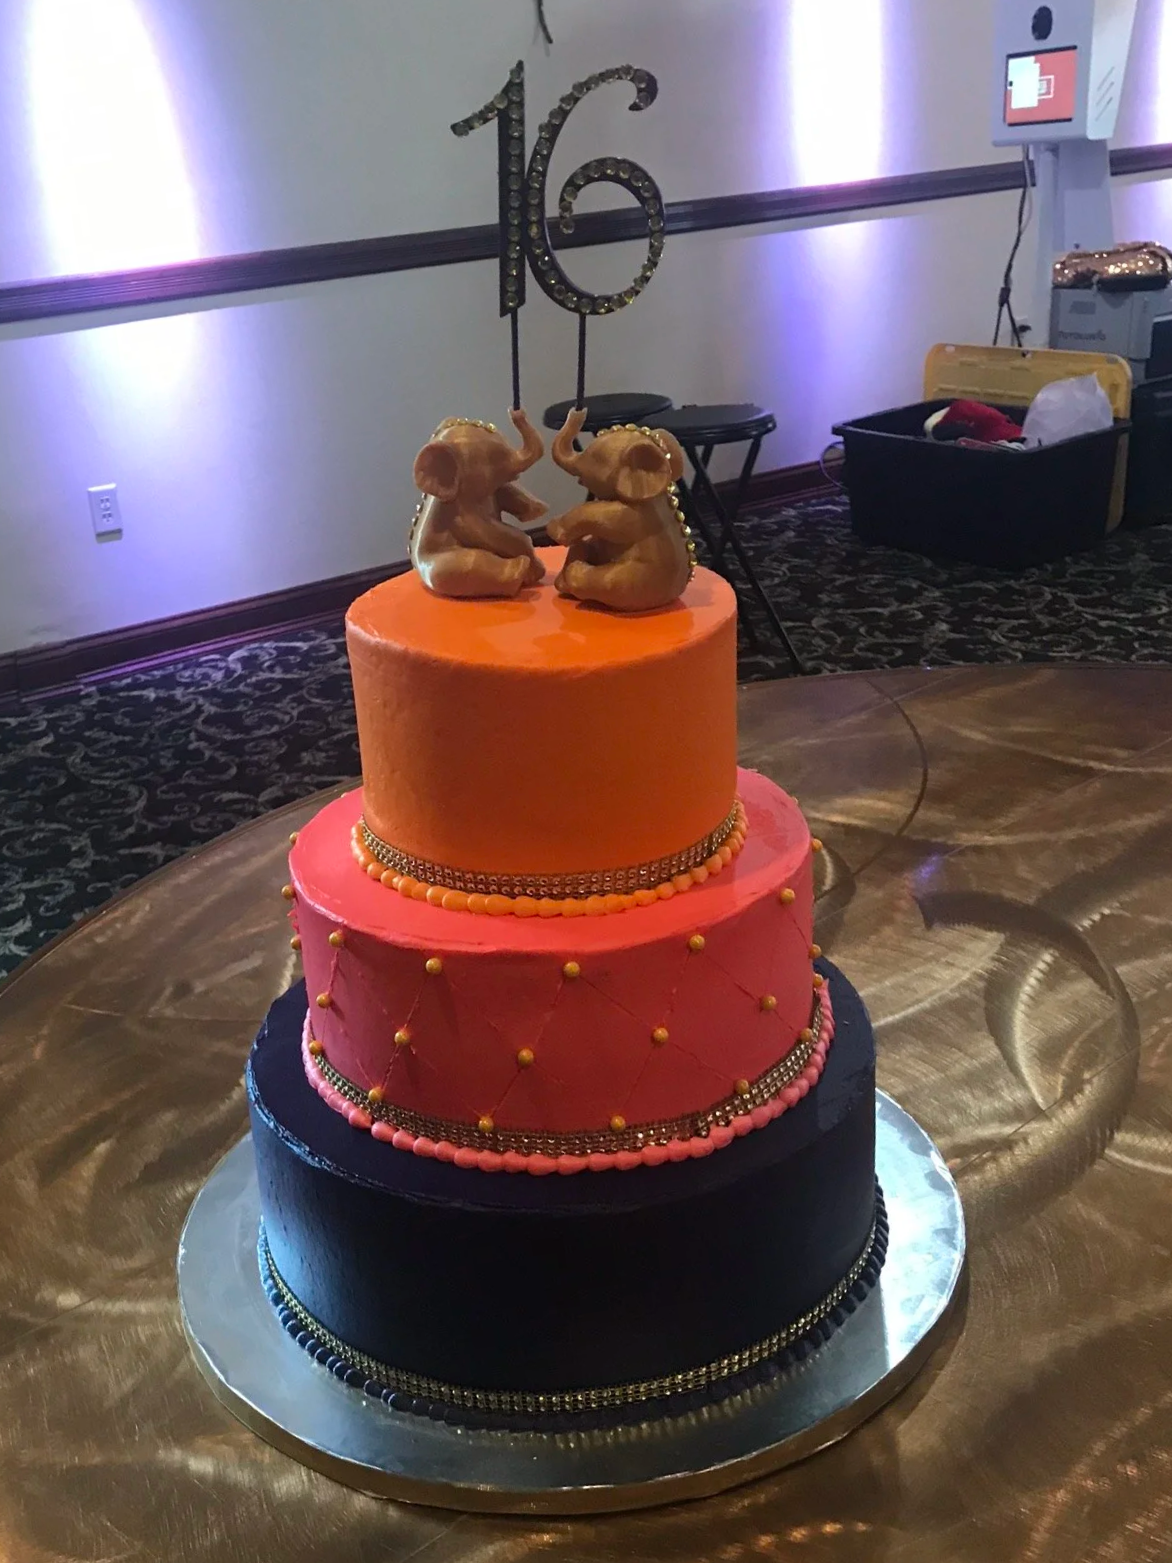
Custom elephant cake topper designed for my sister’s Sweet Sixteen. Elephant model sourced online; “16” was custom-modeled in OnShape, and the final topper required mechanical assembly using superglue.
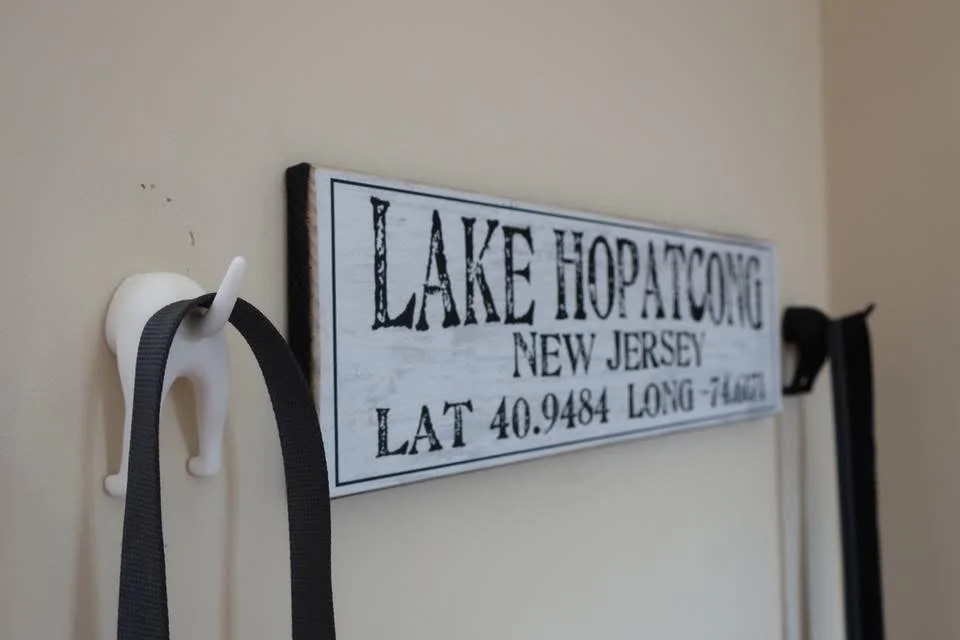
3D-printed dog leash hooks adapted from an online model with modified mounting features to increase attachment strength to the wall.